Miniplane-USA |
|
|
|
Miniplane Assembly Steps:
|
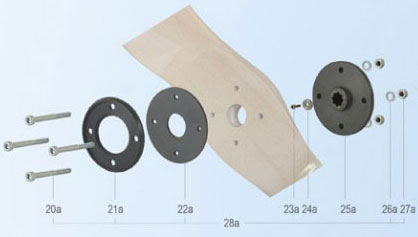
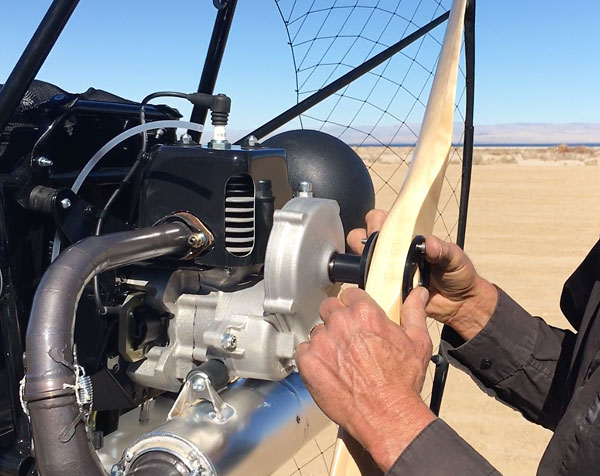
Assembly: Propeller (Propellers)Install the Propeller with the supplied Propeller Plate, Nut and Bolts and Rubber Propeller Disc.
Put the Bolts into the Propeller Plate, then through the Propeller, then slide the Rubber Propeller Disc (for wooden propeller) onto the Bolts using the smaller holes on the Disc. Position the assembly in front of the Prop Hub and slide the bolts into the smaller holes on the Hub until the Propeller is seated onto the Hub. Please note: The photo above is for part identification and does not show the correct installation - the rubber disc should go between the propeller and the engine. Check now that the Propeller is installed correctly. The Leading Edge has the thicker edge and the trailing edge has cooling fins. The cooling fins should face away from the motor. If the propeller is installed backwards, you will have no power when launching. Install the Nylock Nuts on the Bolts and tighten one bolt gently, just until there is a small amount of pressure. Cross-tighten the opposite bolt, then use the same cross-tightening technique for the other two bolts. Now you can cross-tighten the four Propeller Bolts to about the amount of pressure your pinky can pull against a 6 inch wrench. If you are using a Carbon Fiber Propeller, leave the Rubber Propeller Disc off. Install a good Propeller Cover for protection whenever you are transporting your Miniplane Paramotor.
The next step in the assembly is the Feet & Mirror. |